
Setting up your Kiosk is the first step in getting your SecurePass journey started.
Please follow these steps if you are managing the device yourself. And it has not been loaded onto the HealthSafe MDM Account.
A requirement for managing your own iPad device is that you will need to download the SecurePass application and log on using your own Apple ID account.
Please note that when your device is managed by yourself, HealthSafe can not assist with your Apple ID related questions.
If your device is managed by HealthSafe please find a step by step guide here - https://support.healthsafe.co.nz/how-to-set-up-your-healthsafe-managed-ipad
1. Download and Install the SecurePass Application.
The first step after you have done the initial set up of the iPad device you will be required to login to your own apple id account.
-
Once this is done go to App Store
-
Search - SecurePass Kiosk ( The following image below is what the application looks like)
- Alternatively, you can directly install the app using this link: https://apps.apple.com/tr/app/securepass-kiosk/id1159118965
-
Once this is downloaded you will be required to login to your SecurePass site, with your Location ID, UserName and Password Credentials.
-
After this has been completed, you will be presented with your SecurePass Sign in Screen if this has already been configured
The login details for your SecurePass site would have been sent through by the Support Team. If you have not received and have the correct authority please reach out to Support@healthsafe.co
2. Connect the Printer and iPad.
-
Take the Brother Printer out of its physical box.
-
Take out the power supply, power cable, and printer label roll. * There will also be an additional grey cable within your box. You will not need this.
-
Remove the plastic sticker that is stuck to the display screen and Protective Sheet from the Label Output Slot.
-
After removing the sticker and sheet, insert the label roll into the Roll holder. Make sure that the roll is inserted firmly into the Roll Spool located on the right inside of the device.
-
Thread the label roll through the Label Output Slot, until the arrow appears.
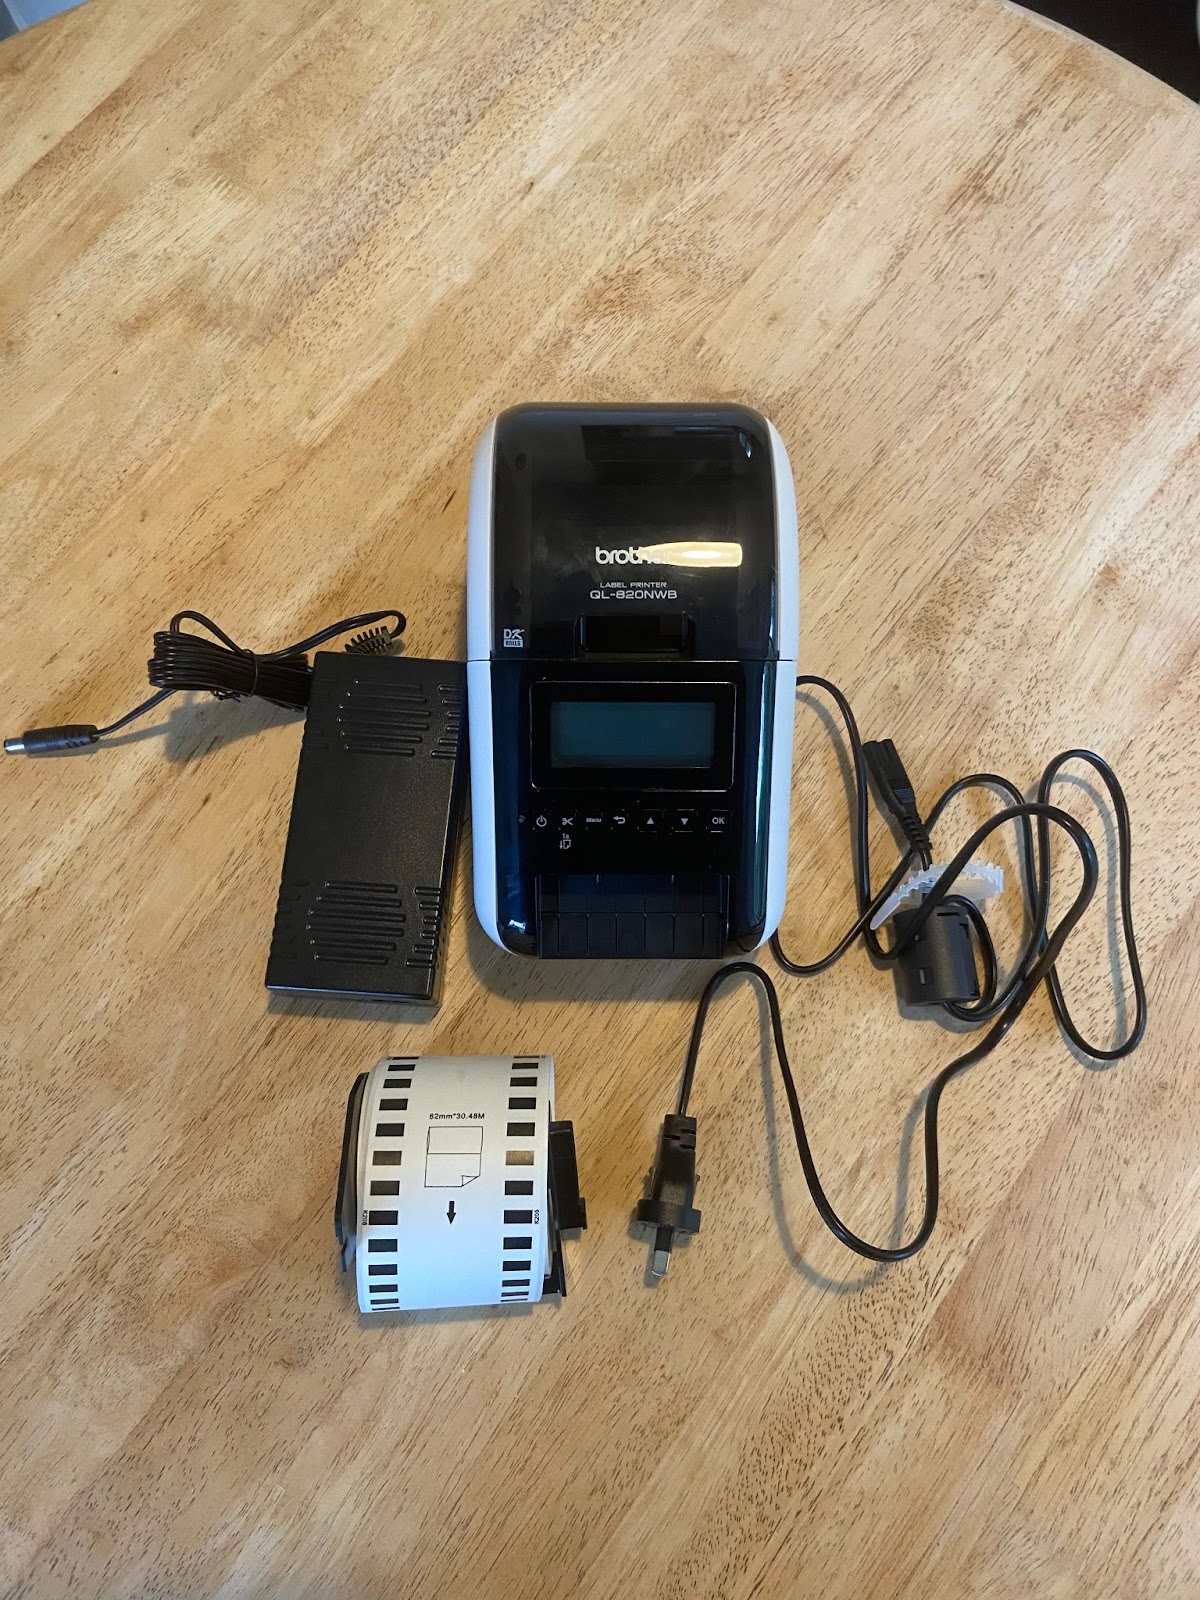
The following image is all you will need to complete the setup.
-
Connect the power supply and cable to the “DC IN 25V” Input located on the rear device and plug it into the nearest power outlet.
-
Press the power button, and after 2 seconds a white screen will appear.
-
Then you will be prompted to set the device language, time and clock.
What to click on the Printer Screen.
On the Printer, please set the following configuration:
- Go to Menu -> Template Settings ->Template Mode, and select OFF
- Go to Menu -> Bluetooth>>Bluetooth and select ON
- Go to Menu -> Bluetooth>>Automatic Reconnection and select ON
When the setup is correct, the printer's display should appear as follows: It's important to note that the Bluetooth icon, located in the top right corner of the screen, will be blinking because the Bluetooth connection has not been established yet.
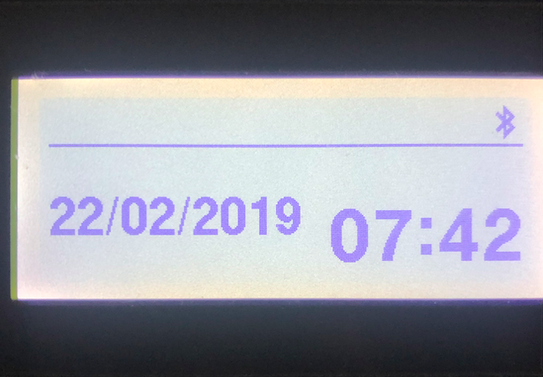
If the Bluetooth icon is displayed. Your Printer is successfully connected to Bluetooth.
The initial printer setup has now been completed, next will be connecting to your iPad or compatible Android device.
2. Connect to the Internet and Auto-Lock.
After you have successfully reconnected both the iPad and Brother Label Printer to a power outlet. We will need to connect to the internet and set "Auto-Lock" to never. To ensure that your iPad screen never goes to sleep while in use.
-
Go to settings >> Display and Brightness>> Slide the Brightness Control to the maximum
-
Underneath the Brightness option, select Auto-Lock>> Select Never
-
On the iPad go to settings >> Wi-Fi. Ensure that this is turned on by the green slider.
-
Select a secure Wifi and not a publicly accessible one.
-
Go to Bluetooth >> Ensure this is ON>> Check that the Brother Printer appears as a connected device. Under “My Devices”
The Bluetooth printer on the iPad will always appear as "QL..." on the Bluetooth page.
3. Enabling Guided Access
Once the iPad has been connected to your local Wifi, you will need to enable Guided Access. When this is enabled you can restrict your device to a single application.
Before you begin this process, please ensure that your iPad case key is close at hand. This will be needed to unlock the physical case housing your device.
Important: Please do not lose the case keys that have been provided!
-
Open Settings >> Search Guided Access or Click Accessibility and then Guided Access. It is located under General.
-
Click Guided Access so that a green slide appears.
-
Click PassCode Settings and select Set Guided Access Passcode
-
Create your Passcode that will be used to disable Kiosk Mode. (Make sure that it is an easy number to remember)
-
Go back to your SecurePass Sign-In Screen and then depending on your iPad model. Press the home or power button 3 times.
-
Depending on your iPad type, a message may appear that “Guided Access has now started” or an additional window.
Please make sure that the Guided Access Passcode is something that is easy to remember. HealthSafe will not be able to check/reset this passcode remotely
Your SecurePass Sign-In and Sign-Out screen will already be presented to you when you access the SecurePass Kiosk App. This image showcases the flow of enabling Guided Access.
Now that you have connected the Brother label Printer and iPad, enable Guided Access and set the Auto-Lock to Never. You have completed the additional steps needed for your Kiosk set up and can begin Signing In and Signing Out.
Prefer a Video Guide instead? Watch Below!
If you require anything else, please reach out to support@healthsafe.co