
The following article will show you the quick steps that will need to be followed to complete the set up of your HealthSafe Managed device.
What you will receive in the your asset package.
Note that this article is a set up guide for Devices that are managed by HealthSafe. If you are managing your own device on your own Apple ID account.
A Step by Step guide can be found here - https://support.healthsafe.co.nz/how-to-set-up-your-self-managed-securepass-kiosk-for-ipad
Depending on what you have purchased with your SecurePass Subscription, your assets will vary.
But generally you will receive the following
-
One iPad device with the SecurePass application preload and enrolled on the HealthSafe MDM account
-
One pre built Desk Top Stand, with the iPad device housed within
-
One Brother Label printer already paired with the iPad. With one Brother Label already installed
-
5 Spare Brother Label rolls
-
One set of keys to unlock your desk top stand. (Please dont lose this)
-
One iPad Charger.
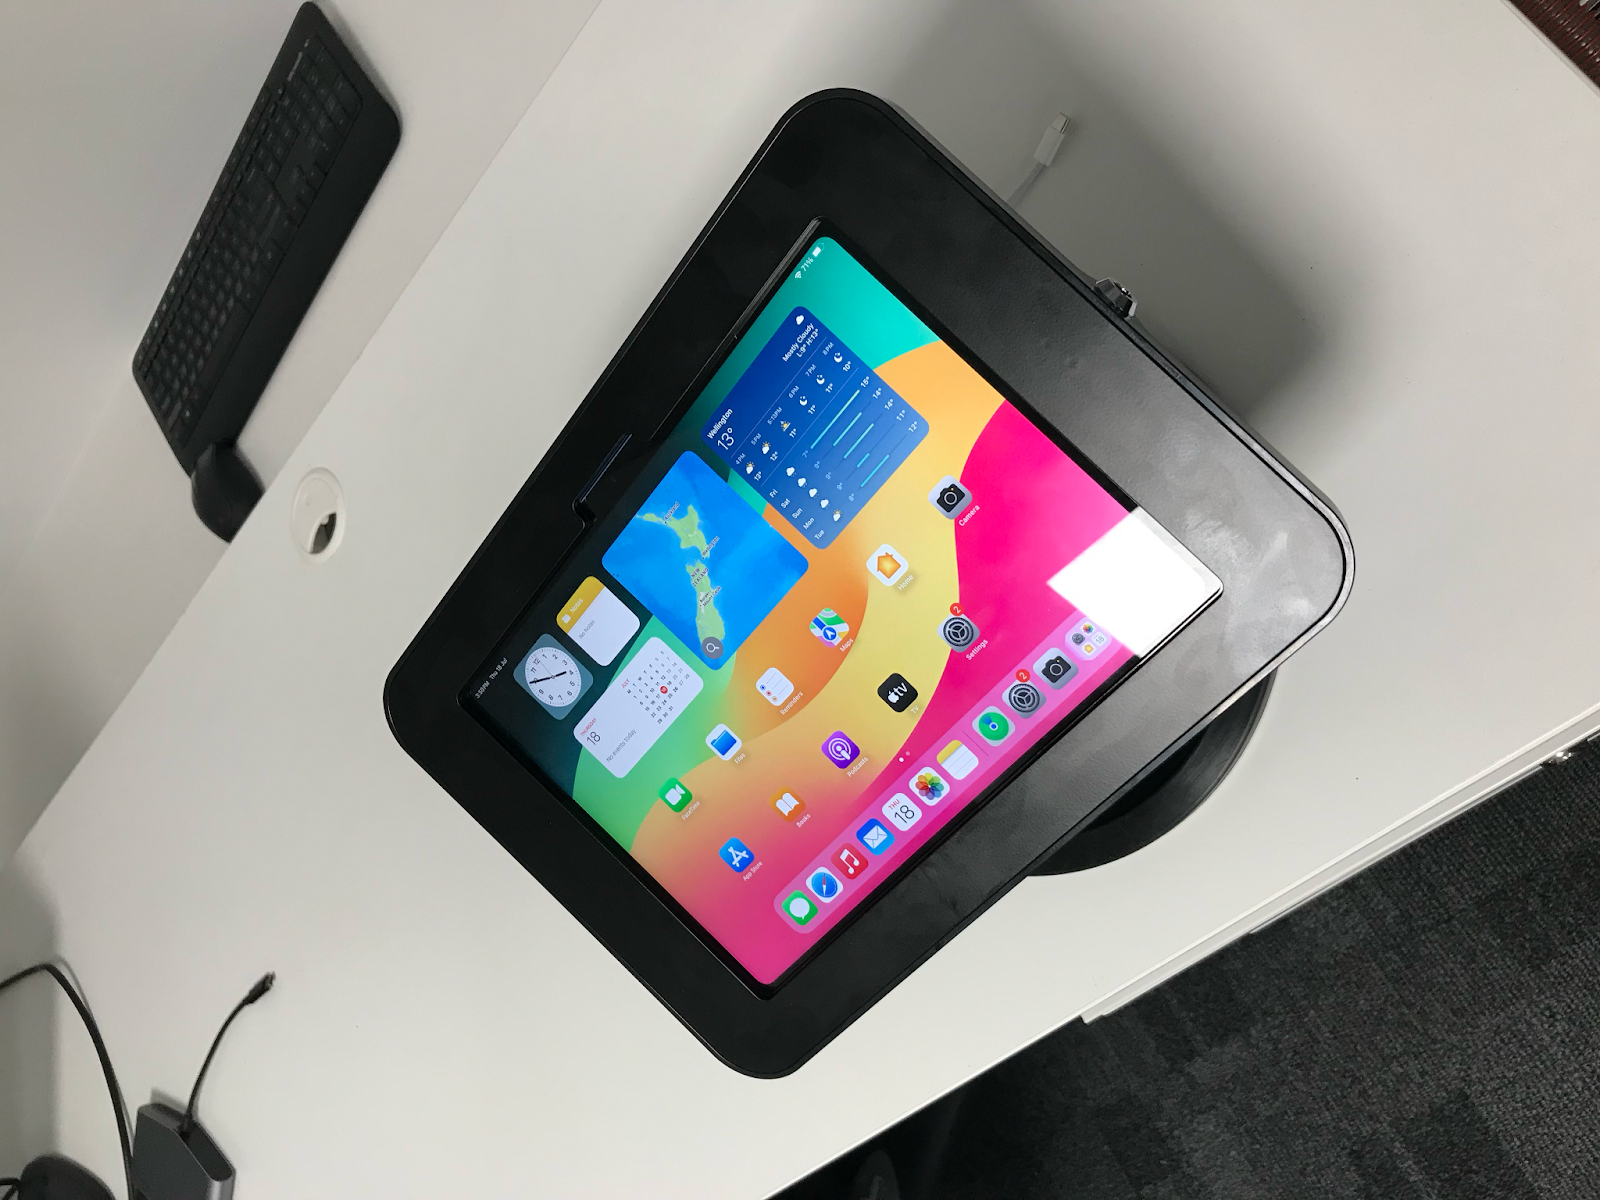
(An Example of what your iPad and Stand will look like)
1. Complete the set up of your Brother Label Printer.
-
Take the Brother Printer out of its physical box.
-
Connect the power supply and cable to the “DC IN 25V” Input located on the rear device and plug it into the nearest power outlet.
-
Press the power button, and after 2 seconds a screen will display the date and time along with a solid Bluetooth Icon.
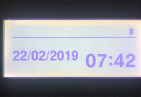
This is what should appear on your label printer once reconnected. PLEASE make sure that the Label printer is located close to the iPad
If this image above is now displayed on your Brother Printer. The connection between both printer and iPad has been established. Please proceed to step number 2.
1.1 What to do if the printer is not connected?
If your printer is not looking the same as the image above please follow these steps.
- On the iPad go to Settings>> Bluetooth.
-
Select the Brother Label Printer under the available Devices
This will start with QL -82…..
- Ensure that the Brother Label Printer is marked as “Connected” within “My Devices”
- Ensure that the Brother Label Printer is marked as “Connected” within “My Devices”
You should then see the screen on the iPad as below:

If those steps do not work.
Please follow these actions on the PRINTER first and then move onto the iPad
- Go to Menu -> Template Settings ->Template Mode, and select ON and then OFF
- Go to Menu -> Bluetooth>>Bluetooth and select OFF and Then ON
- Go to Menu -> Bluetooth>>Automatic Reconnection and select OFF and Then On
- On the iPad go to Settings>> Bluetooth.
Select the Brother Label Printer under the available Devices
This will start with QL -82…..
- Ensure that the Brother Label Printer is marked as “Connected” within “My Devices”
2. Connect your iPad to the internet, adjust brightness and Auto Lock
After we have established the connection between printer and iPad. There are some small steps that must be done on your iPad
- On your iPad go to Settings >> Wifi >> Connect to your internet
- Please ensure that the device in question is connected to a stable internet connection, ideally selecting one that does not kick the device out after a certain amount of time.
SecurePass requires the iPad to be connected to the internet for use. If the device is not connected, SecurePass will not work.
-
Go to Settings >> Display & Brightness and slide the brightness control to the maximum.
-
Then, after this, within Display and Brightness.
- Tap Auto Lock and set this to Never.
- Tap Auto Lock and set this to Never.
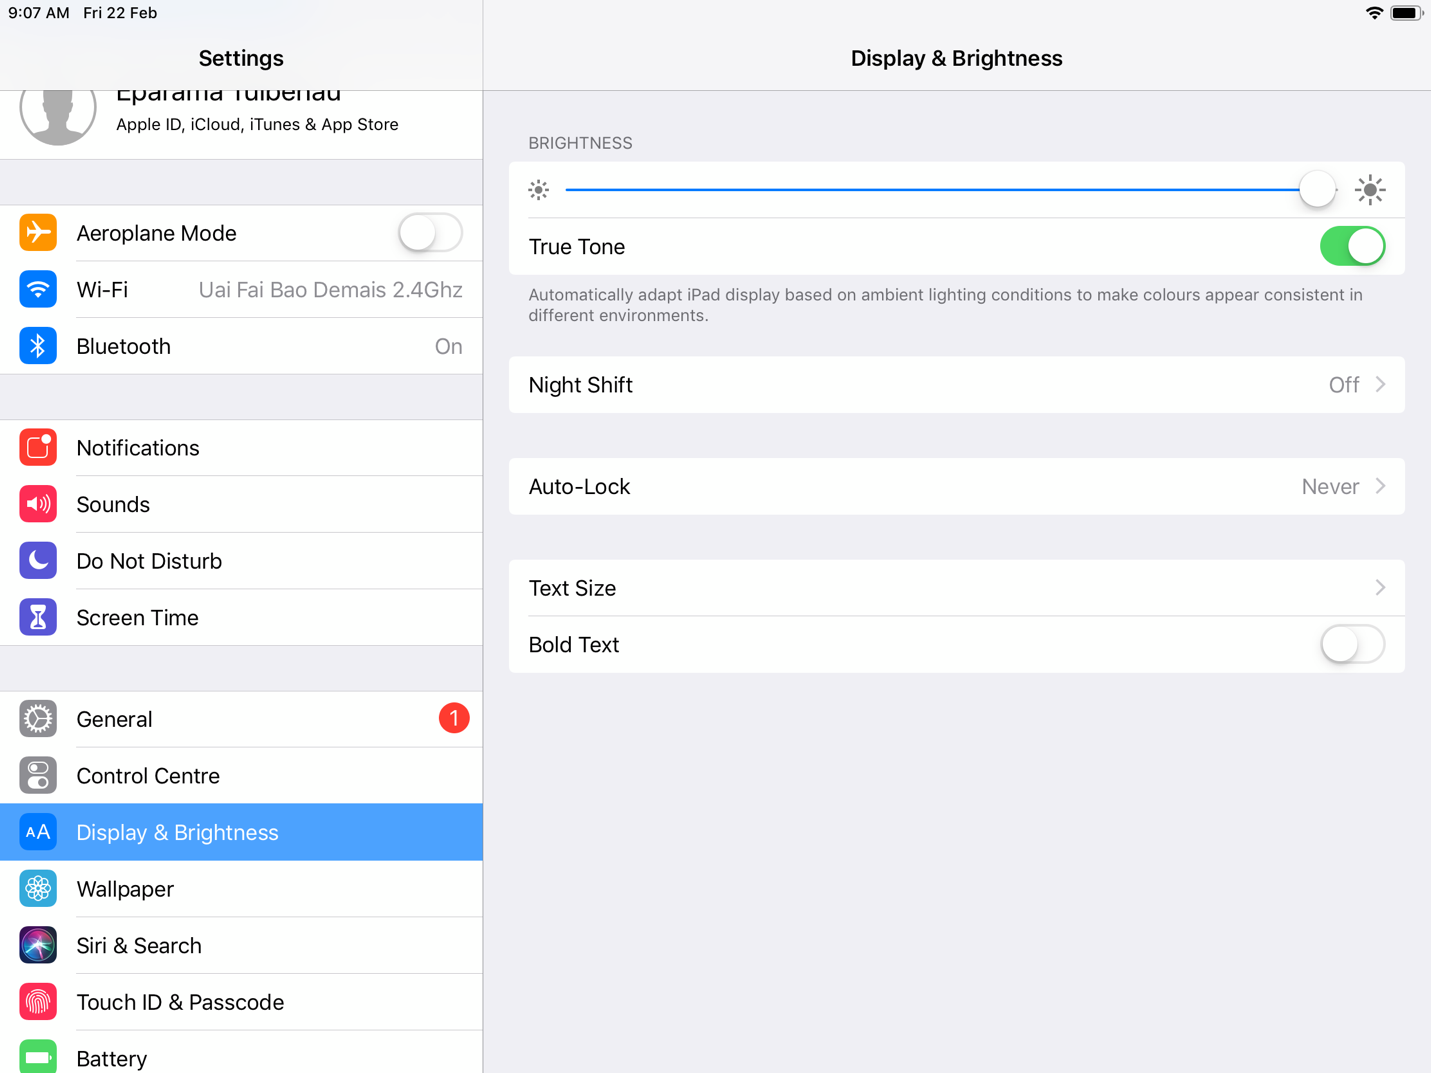
Auto Lock will allow you to control how long you want the screen to stay on when the device isn't being used. The shorter the amount of time you set it for, the faster the screen will go off due to inactivity. HEALTHSAFE suggests that this is set to NEVER at all times.
- General >> Software Update>>Automatic Updates >> OFF
3. Sign on Test - Label and Camera
Now that this has been completed, we can perform a test sign-in via the SecurePass application.
A successful test will meet this requirement.
- After signing on as a Visitor, a label will be printed out from the Brother Label Printer, with your photo attached.
- Signing out as a Visitor, via scan my QR code.Using the QR code presented on the label.
We want to test to ensure that the printer is successfully connected and that the camera on the iPad is facing the correct direction.
3.1 What to press when on-site for a test sign-in.
Once connected on-site, please follow these steps. (Make sure the device is connected to the internet and the printer)
- Select the SecurePass kiosk application.
- Select “Sign In”
- Select “Visitor”
- Enter your Full Name, Mobile Number and for PERSONVISITING. Enter “HealthSafe Test” You will not be required to enter in your company and email address,
- Click Sign in.
● To complete the sign-in step that is presented, you will need to select “Acknowledge and Agree” in addition to “Next”
- Once you have completed the sign-in steps, a visitor label will be printed out from the Brother Label Printer. This will have your name, company and phone number
- On the Home page of the SecurePass Kiosk, select “Sign Out”
- Select “Scan QR CODE”
- Place the QR Code on the Visitor label in front of the camera on the iPad.
- This should be automatically scanned and the user should sign out.
That concludes the physical set up, one last step that can be taken is enabling Kiosk mode to completely lock down the device to just SecurePass.
Note that once in Kiosk Mode, you will be unable to access the settings of the iPad unless Kiosk Mode is disabled.
Kiosk Mode can only be disabled either by the HealthSafe Customer Success Team providing a series of QR codes or the policy associated with that device is remotely removed. This can only be done by the Customer Success Team.
4. How to Enable iPad Kiosk Mode
1) On the SecurePass sign-in screen, swiftly tap the top-middle area of the iPad screen three(3) times with your finger to access the hidden configuration settings

2) Under the 'Kiosk Mode' section, Press the 'Enable' button to enable Kiosk mode.

3) You will need to perform this step twice before Kiosk Mode has been enabled.
How to Test if the iPad is Locked in Kiosk Mode
To test if the iPad app is locked in SecurePass "Kiosk mode", try to exit the application. If you can't exit the SecurePass app, that means you have successfully locked the iPad in Kiosk mode.
If you require anything else, please reach out to support@healthsafe.co