
Setting up your iPad and Bluetooth Printer is a quick and easy process that takes less than five minutes.
Please follow this guide, if the Customer Success team has NOT done any set up of your assets before they have been shipped to you.
Step 1
To begin using the HealthSafe SecurePass Kiosk, make sure you are connected to internet, and then proceed to download the SecurePass Kiosk app from the App Store:
- Open the App Store on your device.
- Use the search bar to find the app by typing "SecurePass Kiosk"
- Alternatively, you can directly install the app using this link: https://apps.apple.com/tr/app/securepass-kiosk/id1159118965
Step 2 Setting up your Brother Label Printer.
- Take the Brother Printer out of its physical box.
- Take out the power supply, power cable, and printer label roll. * There will also be an additional grey cable within your box. You will not need this.
- Remove the plastic sticker that is stuck to the display screen and Protective Sheet from the Label Output Slot.
- After removing the sticker and sheet, insert the label roll into the Roll holder. Make sure that the roll is inserted firmly into the Roll Spool located on the right inside of the device.
- Thread the label roll through the Label Output Slot, until the arrow appears.
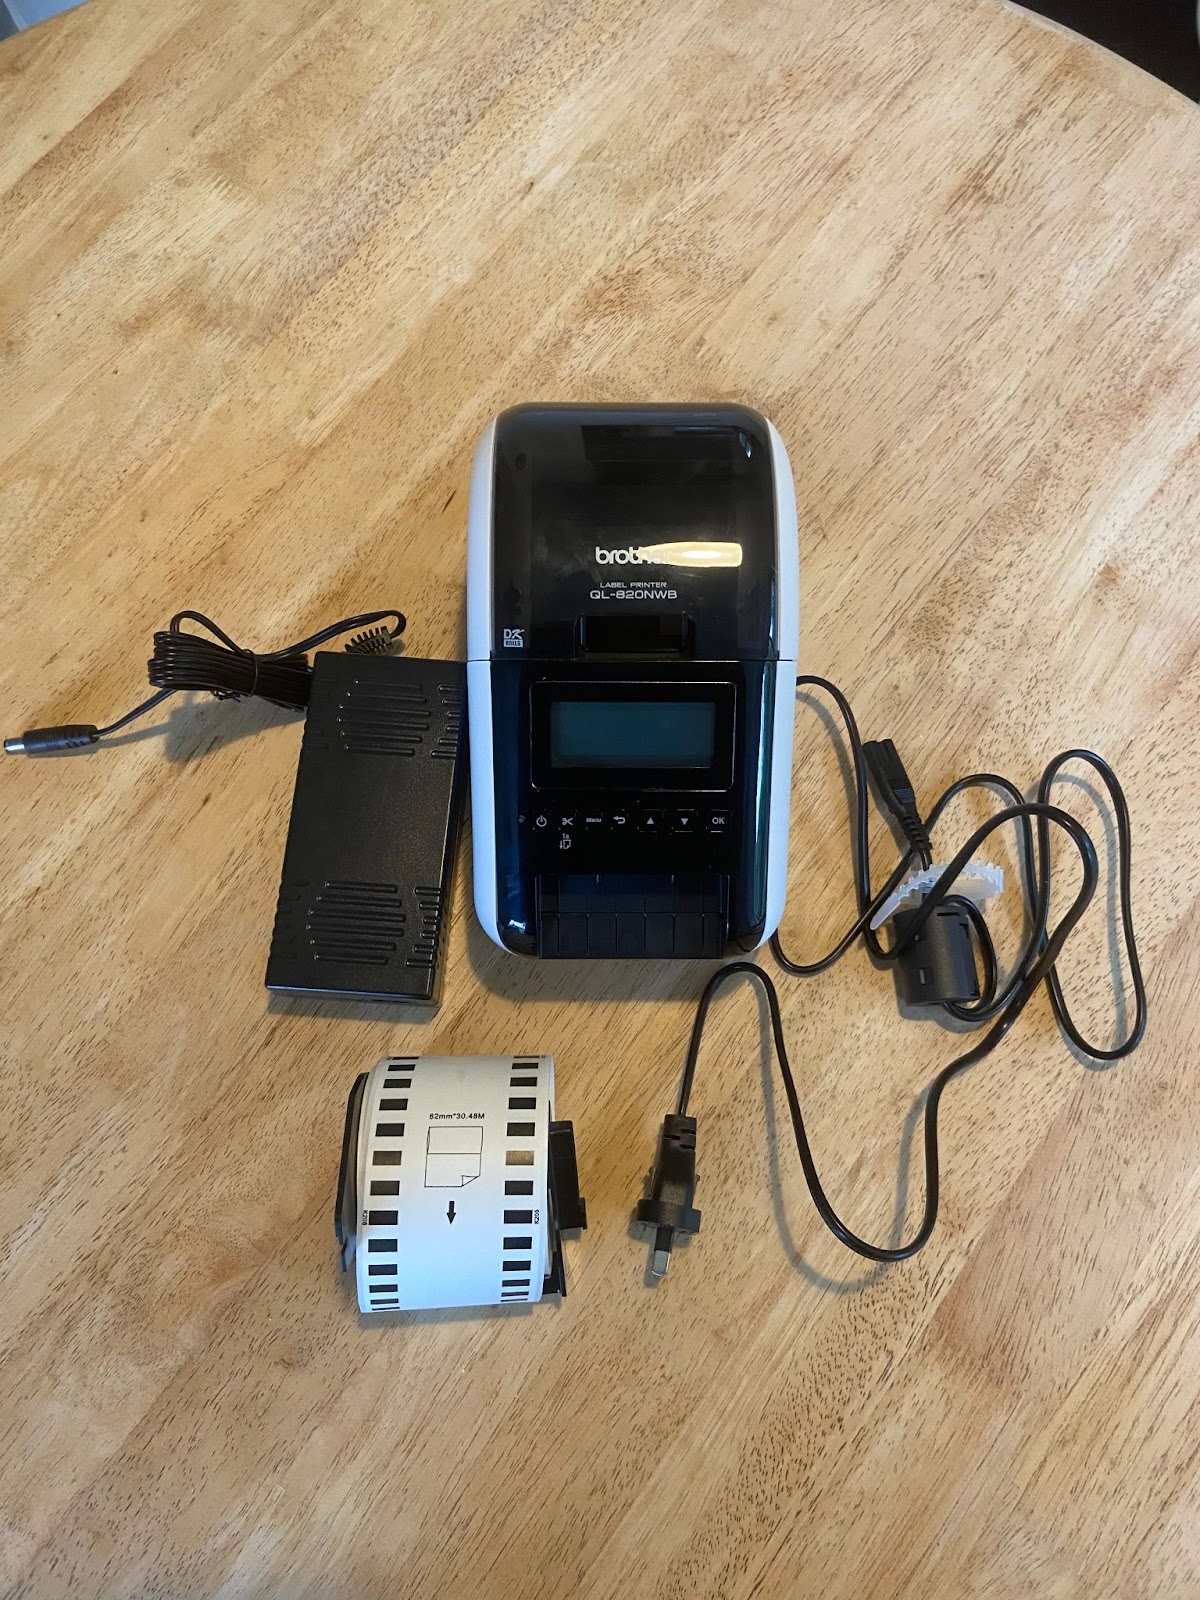
The following image is all you will need to complete the setup.
- Connect the power supply and cable to the “DC IN 25V” Input located on the rear device and plug it into the nearest power outlet.
- Press the power button, and after 2 seconds a white screen will appear.
- Then you will be prompted to set the device language, time and clock.
What to click on the Printer Screen
On the Printer, please set the following configuration:
- Go to Menu -> Template Settings ->Template Mode, and select OFF
- Go to Menu -> Bluetooth>>Bluetooth and select ON
- Go to Menu -> Bluetooth>>Automatic Reconnection and select ON
When the setup is correct, the printer's display should appear as follows: It's important to note that the Bluetooth icon, located in the top right corner of the screen, will be blinking because the Bluetooth connection has not been established yet.
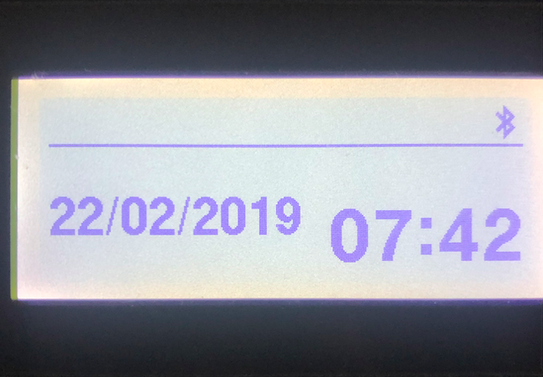
If the Bluetooth icon is displayed. Your Printer is successfully connected to Bluetooth.
The initial printer setup has now been completed, next will be connecting to your iPad or compatible Android device.
Step 3
Configure the bluetooth connection on the iPad.
- Open Settings >> Bluetooth, then select the printer from the list.
- Request to connect to the device and accept the Pairing request. The Bluetooth icon on the printer should now stop flashing.
You should then see the screen on the iPad as below:

Step 4: Logging onto SecurePass
- Once you have downloaded the SecurePass App for the first time. You will be presented with a white login screen.
(Have the Site Specific Login details close at hand, this will be provided to you by the customer success team)
- Tap on the person surrounded by the two hands once and then enter in the Location ID, Username and Password that was provided by the CS team.
- Click “Update” and the white screen will now change to the your background and branding
Step 5
Test if SecurePass WebApp is working well.
- Open the Camera, and grant the permissions asked before applying Kiosk Mode (You can open the camera by triple tapping the top centre of the screen and selecting Disable Kiosk Mode, and after the camera access has been granted, press the BACK button to close it).
- Test Auto-Login feature (if Applicable)
- Test Regular Login (Contractor, Visitor (Print Label), Staff)
- Check if the Information about the Application is correct. Click in the top-left corner, the settings popover will show up with the following information: App Version, iOS Version, iPad Version.
Step 6
Make sure that the following configurations are correctly set on the iPad Settings:
- iTunes & AppStore >> Password Settings >> Always Required >> ON
- iTunes & AppStore >> Password Settings >> (Free Downloads) Require Password >> OFF
- iTunes & AppStore >> (Automatic Downloads >> Updates >> OFF
- General >> Software Update>>Automatic Updates >> OFF
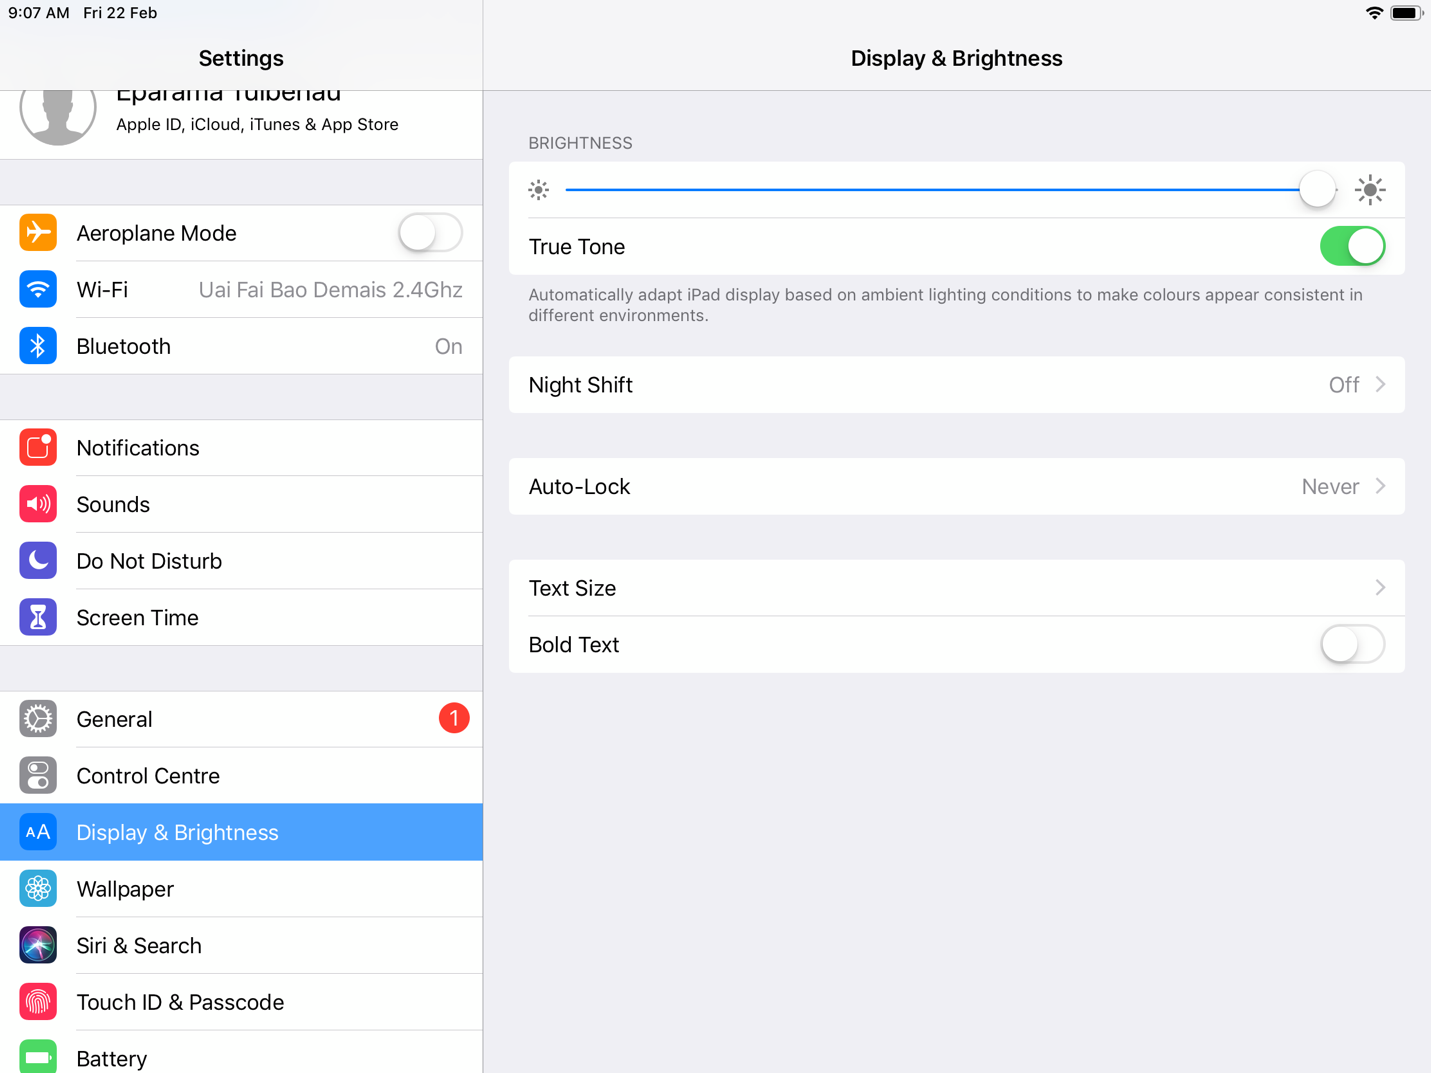
- Display & Brightness >> Auto-Lock >> Never
Step 7 (IMPORTANT)
Once you assemble the iPad into the case, the light sensors of the iPad are probably going to dim the screen to the minimum brightness. Go to Settings >> Display & Brightness and slide the brightness control to the maximum.
Step 8: Enabling Guided Access
Guided Access works like Kiosk Mode within SecurePass, locking your device to a single application to encourage SecurePass use. However, it has the added benefit of being self-serviced and does not require any assistance from the HealthSafe team to be set up
- Open Settings >> Search Guided Access or Click Accessibility and then Guided Access. It is located under General.
- Click Guided Access so that a green slide appears.
- Click PassCode Settings and select Set Guided Access Passcode
- Create your Passcode that will be used to disable Kiosk Mode. (Make sure that it is an easy number to remember)
Note: As Guided Access is self-managed, HealthSafe will NOT know what your Guided Access Passcode will be.
- Go back to your SecurePass Sign-In Screen and then depending on your iPad model. Press the home or power button 3 times.
- Depending on your iPad type, a message may appear that “Guided Access has now started” or an additional window.
Your SecurePass Sign-In and Sign-Out screen will already be presented when you access the SecurePass Kiosk App. This image showcases the flow of enabling Guided Access.